Shopping Cart
There are no more items in your cart

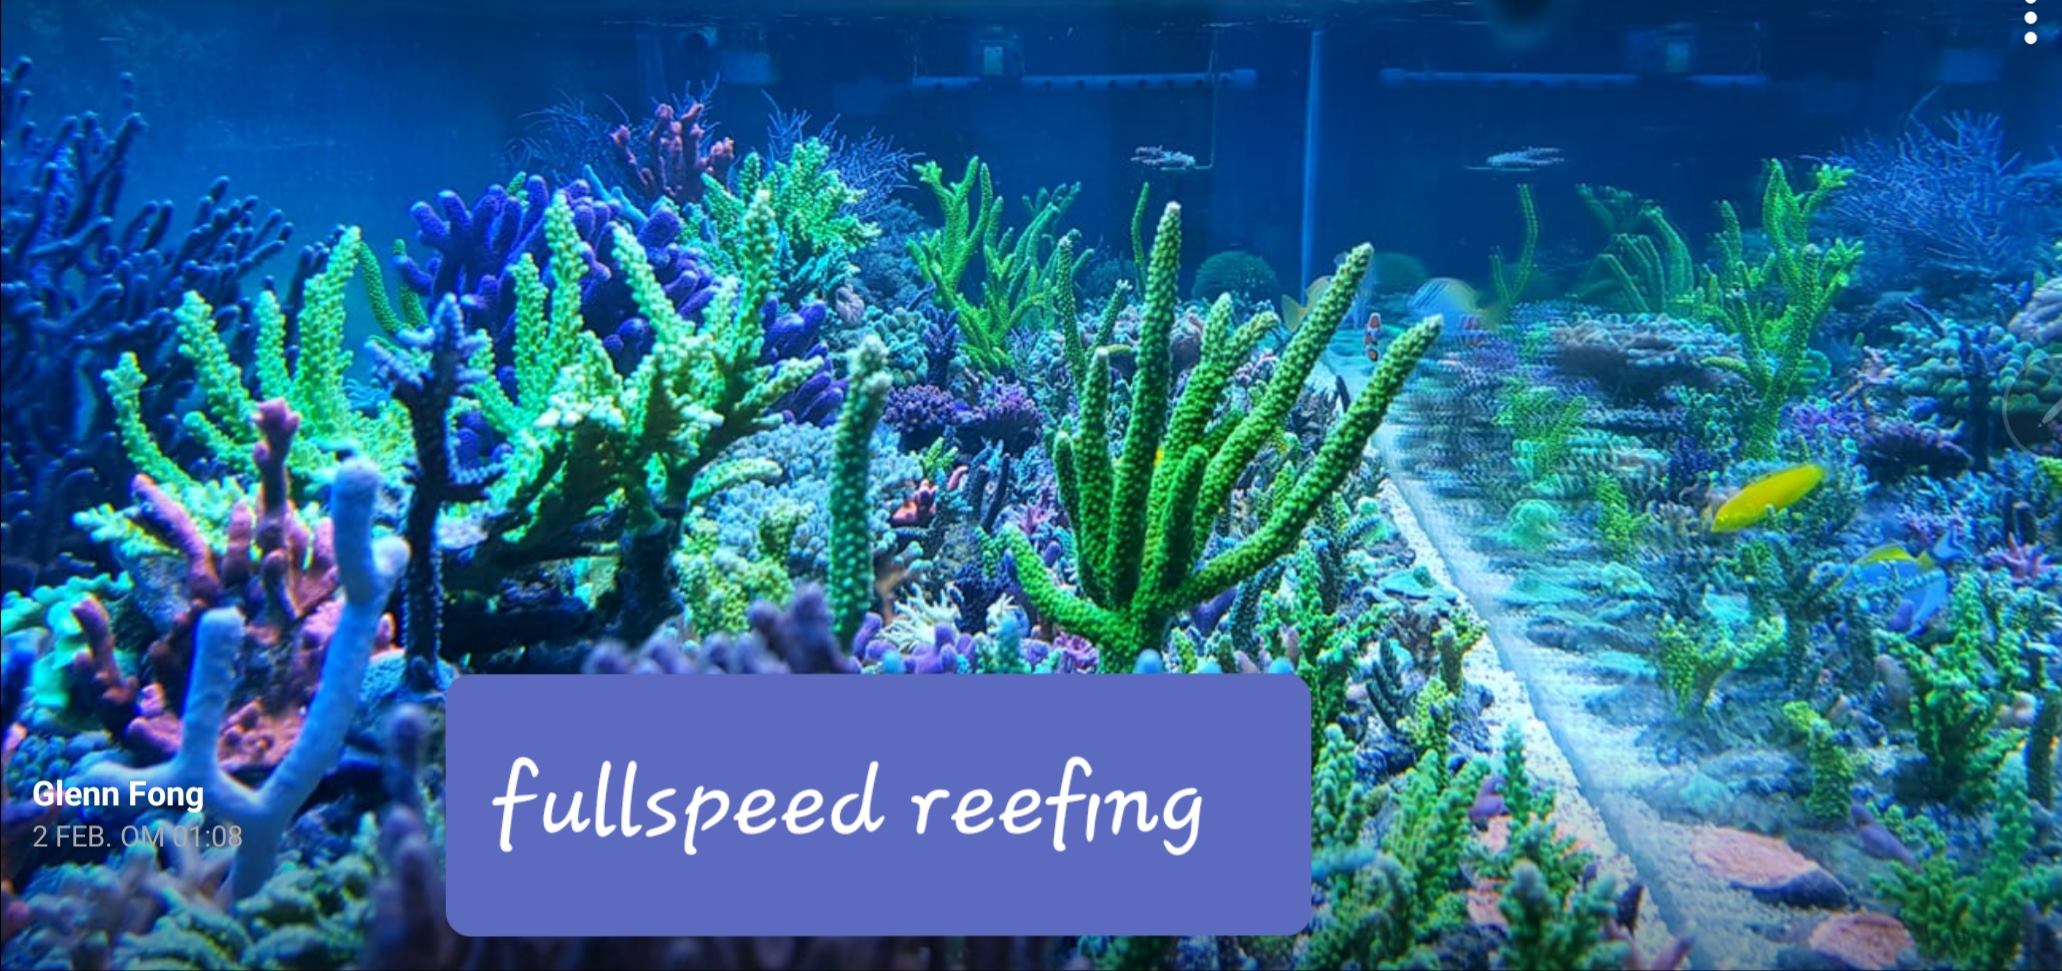
DSR Startup Procedure (one of the many ways)
Start Full DSR or Conservative?
You can start either way, it doesn't matter to DSR.
In the beginning you don't have any corals yet and then you can start steering.
The advantage of starting Full DSR is that you can start with water without nutrients/waste and add this after a while. This way you minimize the start-up peak values, giving you a faster start in combination with checking all your parameters including the lighting. gradually placing small batches of live rock is one way to speed up the start. As much as the system can handle without experiencing peaks. It is best to start with used stone that has been around for a while, and that does not contain pests such as aptasia, majano, algae and crabs. You then graft this additionally with some fresh living stone from nature.
Full startup in DSR:
In the DSR method assume that the start-up peaks of ammonia, nitrite, nitrate and phosphate are harmful and undesirable. During these start-up peaks, too much dies off, what you get in return is a "beautiful" algae bloom and no one wants that, because they die off again when the tank is "stable".
So why not keep the values stable by taking a number of steps in a controlled manner. The biggest culprit of the peaks is to throw a mountain of "living stone" into the tank. So much dies off that the peaks are logically inevitable.
When introducing corals and fish, do so evenly and gradually. Precisely to keep these values stable. Everyone agrees on this, but during the start-up everyone immediately wants to fill the container with living stone. It often turns out that they have purchased too much.
In DSR we use minimal technology
What do you need:
- Aquarium (preferably with sump, or a compartment with an overflow)
- 3 point flow pumps. See article Optimal Flow
- Power filter (pump with cotton wool) See article Power Filter
- Well-functioning skimmer
- Fine coral sand 0.5-2mm
- Live stone for grafting (introduce gradually)
- For aquariums with many spot-sensitive fish UV and/or ozone.
- Lighting preferably a proven concept such as T5
Everything needed to create new water is in the CRS250 salt. See article CRS Custom Reef Salt
Everything needed to maintain an aquarium is included in a DSR100/250/500 Starter/Maintenance Kit. These are aquarium maintenance packages for 1 year intended for 100, 250 or 500 liters respectively.
If you have a 1000 liter system, you buy a DSR500 to start and simply supplement it later with loose products, which are also available in large (bulk) packaging.
You also need the recommended tests. See article Test Kits
A dosing pump is preferable because of its ease of use.
What is NOT used are:
NO nitrate and phosphate removers other than those included in DSR, such as GFO, lanthanum, biopellets, etc.
NO fluidized bed filters.
NO nitrate (sulfur) reactors.
Using the combination of iron and aluminum phosphate removers simultaneously should be avoided.
The combination of biopellets and CarbonVS dosing should be avoided. I get field signals that this sometimes even has a counterproductive effect.
NO Bacterial preparations
NO antibiotics, bacteria nutrition/booster, algae control agents, etc.
NO trace element required, other than what is included in the DSR delivery package.
A lime reactor is not necessary, but the DSR calculator can be used to supplement deficiencies in a reactor.
Always with the following order.
Fill the container with salt water with the poor values. (0.02 phosphate 0.2 nitrate)
Coral sand in the tank 1-2cm
Graft with some mixed sand from another container (5-10%) and a piece of live stone (1 kilo per 100 l) that you crush with a sledgehammer, mixing everything thoroughly.
2 pieces of live rock of a total of 2-3 kilos per 100 liters
Install power filter with cotton wool
Start the next day with the lighting at 6 hours per day. After a week, increase by 1-2 hours, paying attention to emerging flap
The skimmer may be installed on the 2-3rd day so as not to skim off all the grafting material at the same time
Just let it run and measure nh4, no2, no3, po4 after a week.
Depending on this, you will decided what has to be adjusted.
Place all your corals after a week. The only thing that could bother you will be the brown deposits on all virgin surfaces and the glass, which later turn into lime algae, but that is not a problem, you also get them the "normal" way.
If you have access to healthy living stone from your old tank or refugium, you can start with that. This method is very suitable for a sterile structure with reef ceramics. Starting up with a multiple of organically loaded stone or "fresh living stone" will delay the start-up by a number of weeks due to the start-up peaks due to the breakdown of dead material.
This can be accelerated by immediately starting to apply a carbon source. As long as there are no corals present, it does no harm to be a little too low with phosphate and nitrate.
At your own discretion, it is useful to work with a phosphate remover (iron solution) on very dirty stone, but note that a phosphate of 0.02 must always remain present, otherwise the carbon source will not work.
From start-up, the DSR tools are used for control.
DSR is all about controlling the water parameters, with everything you have at your disposal to adjust the biochemical process.
There are 15 Supplement which are being used in the DSR Method to control all essential water parameters.
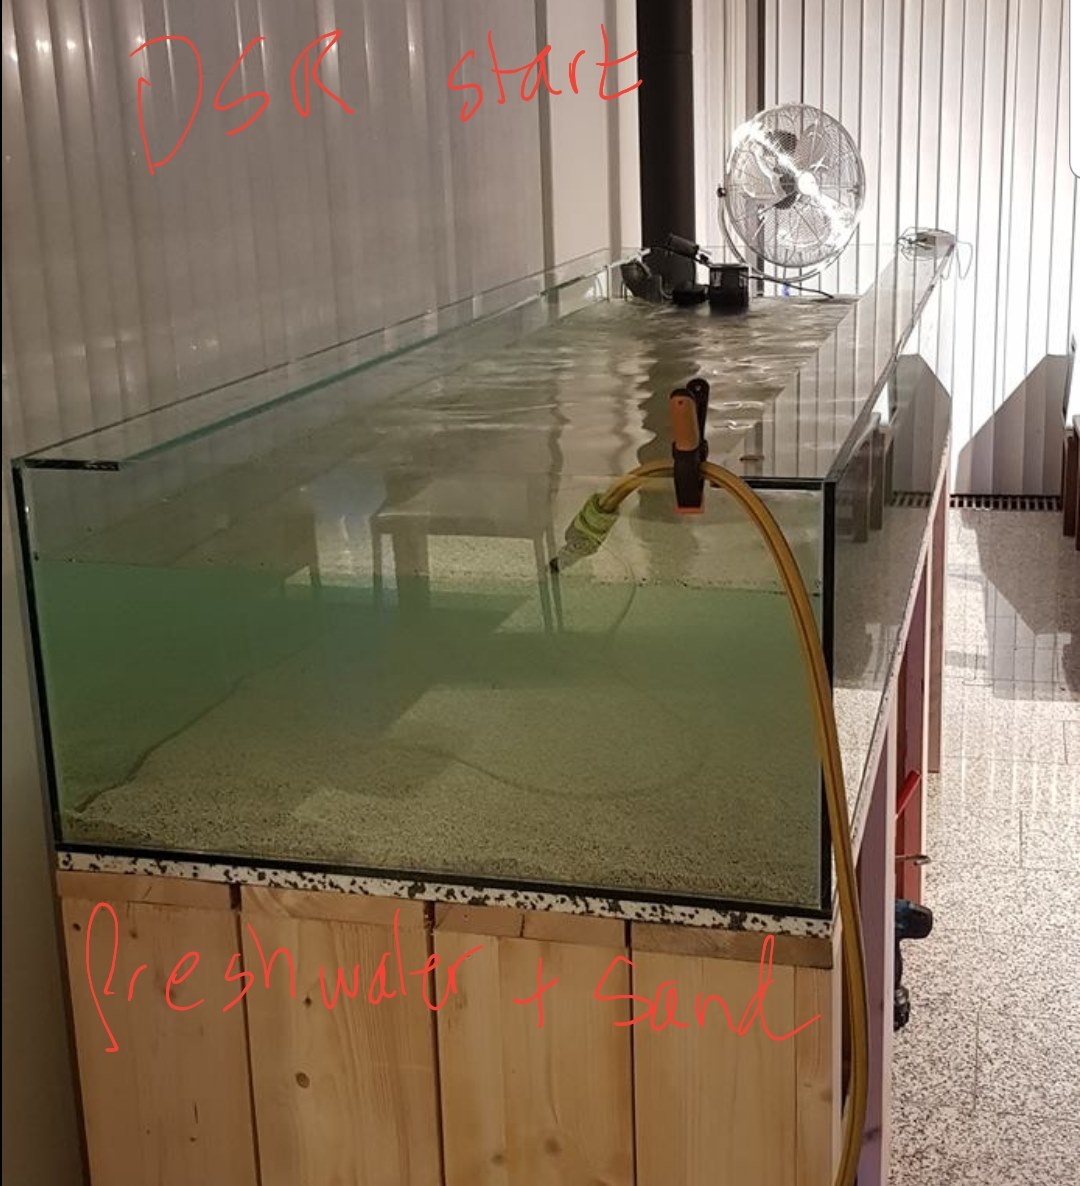
The DSR method (new tank) startup procedure in real live
We start filling the tank with (fresh) water
Put a mark on the waterline
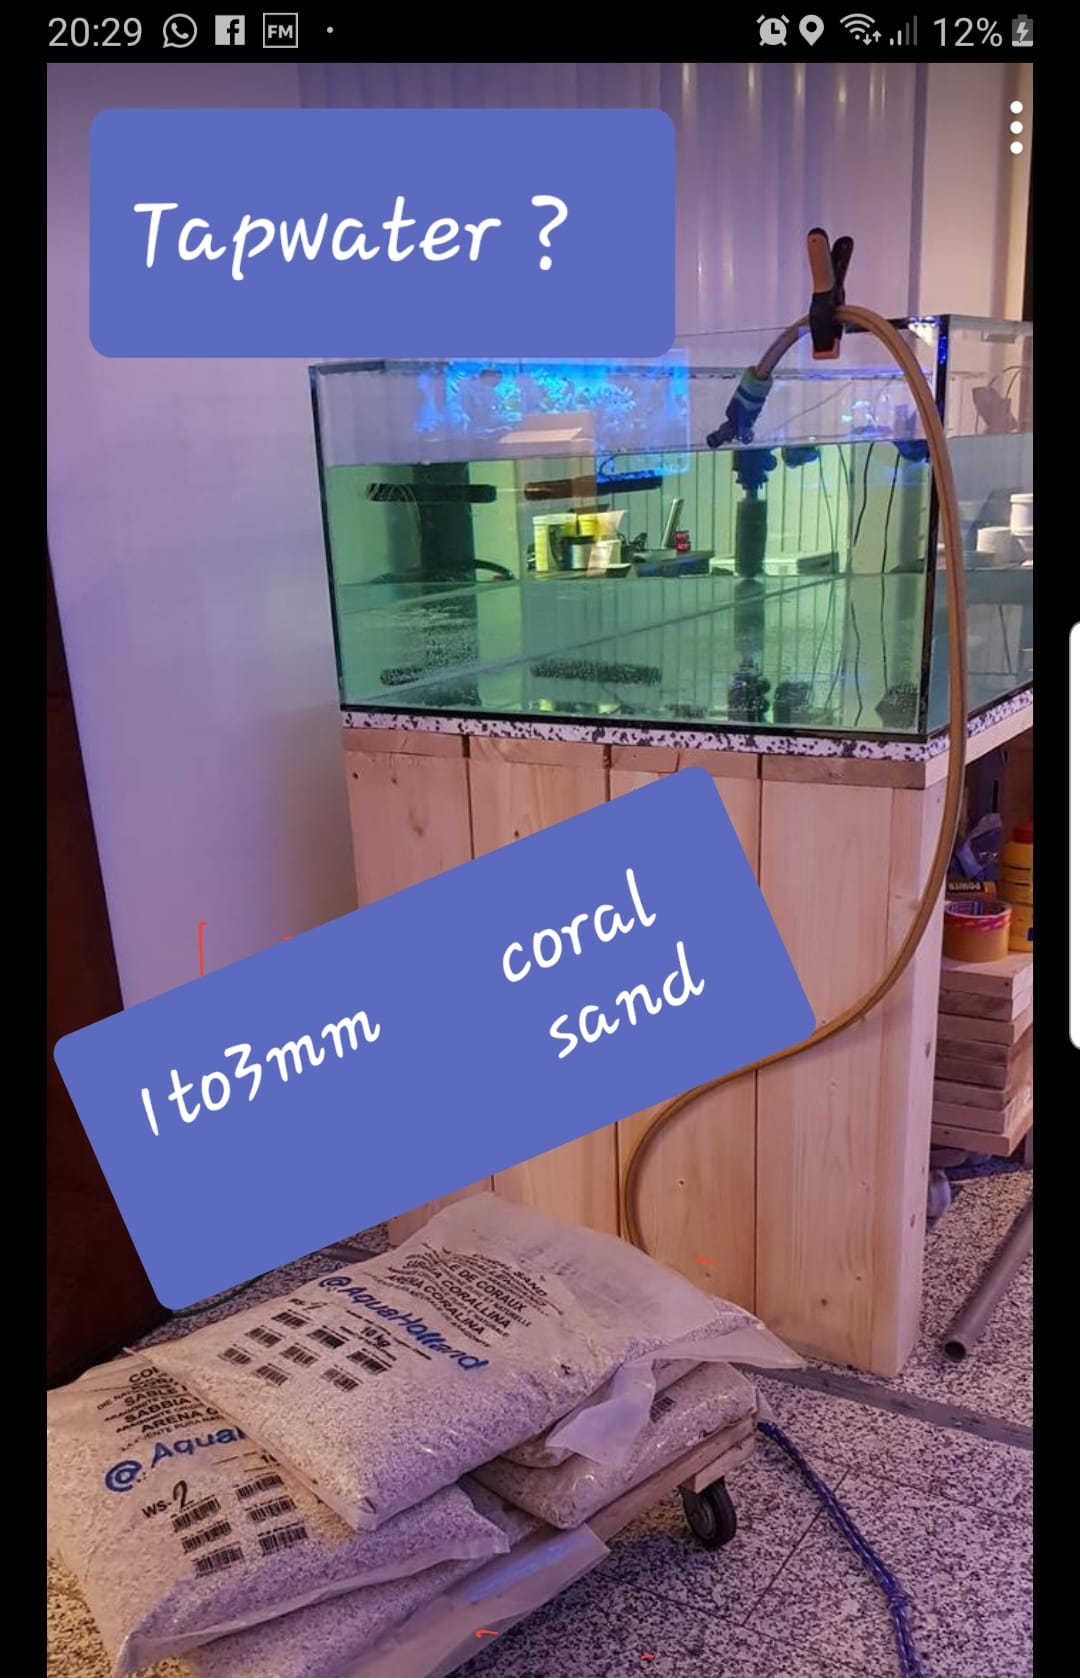
The coral sand can be placed directly after filling the tank.
A sand bottom is housing for bacteria and micro fauna. We keep this clean with good flow, PF a cleaning crew.
Coral sand doesn't even has to rinsed. The dirt will settle down when biology start doing it's job. Beside that the power filter need some dirt to work properly.
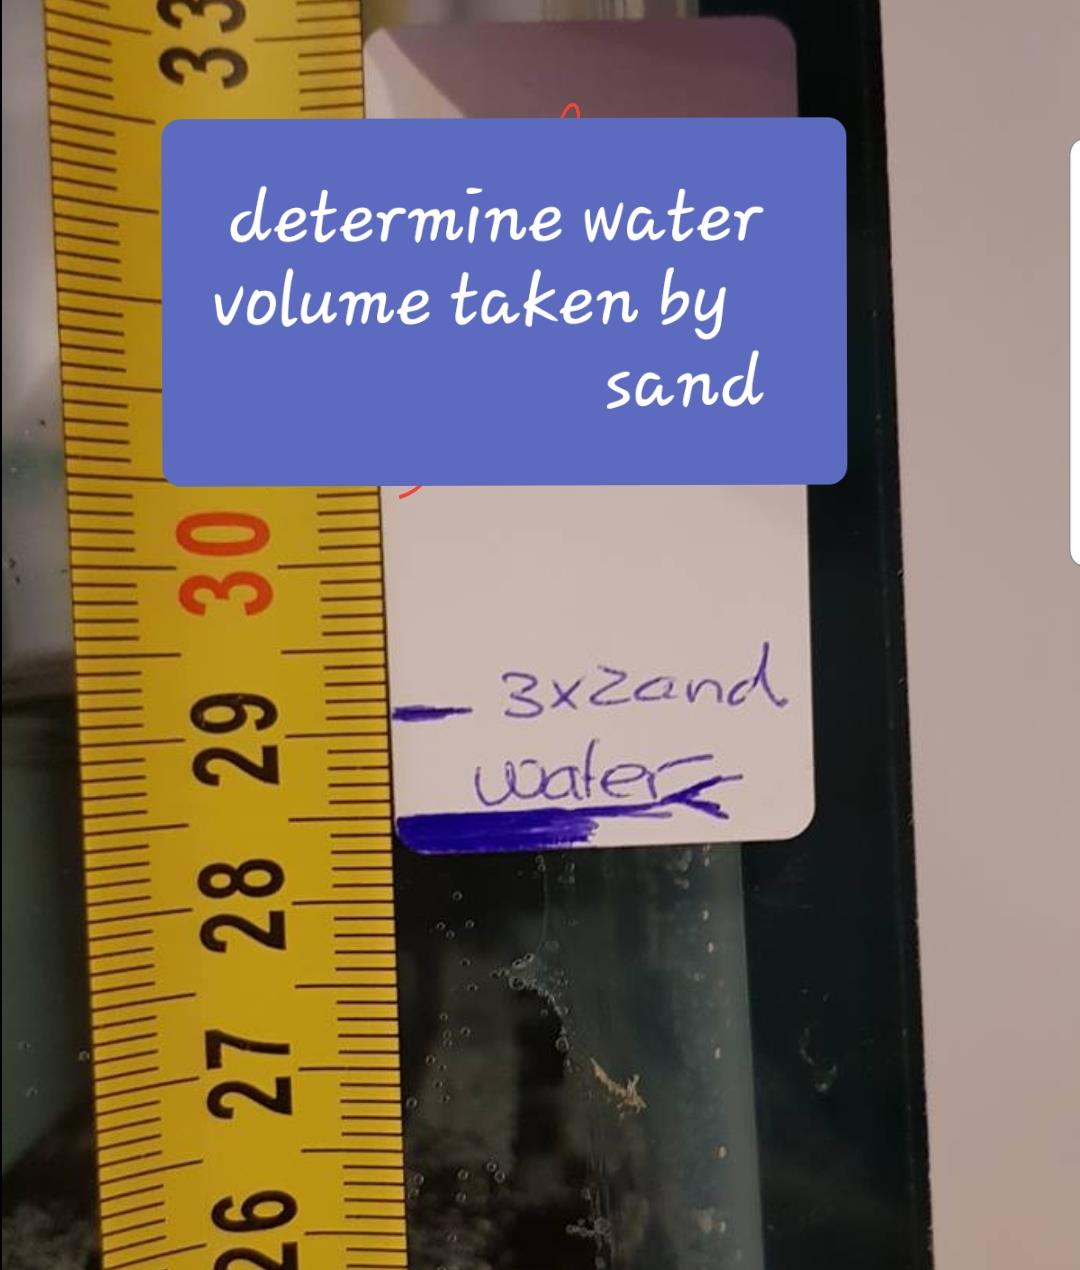
Put a second mark on the waterline
The difference is the volume of the sandbed (to be substracted from the tank volume)
Now we are ready to mix our first DSR salt using the salt calculator . See article CSR Custom Reef Salt
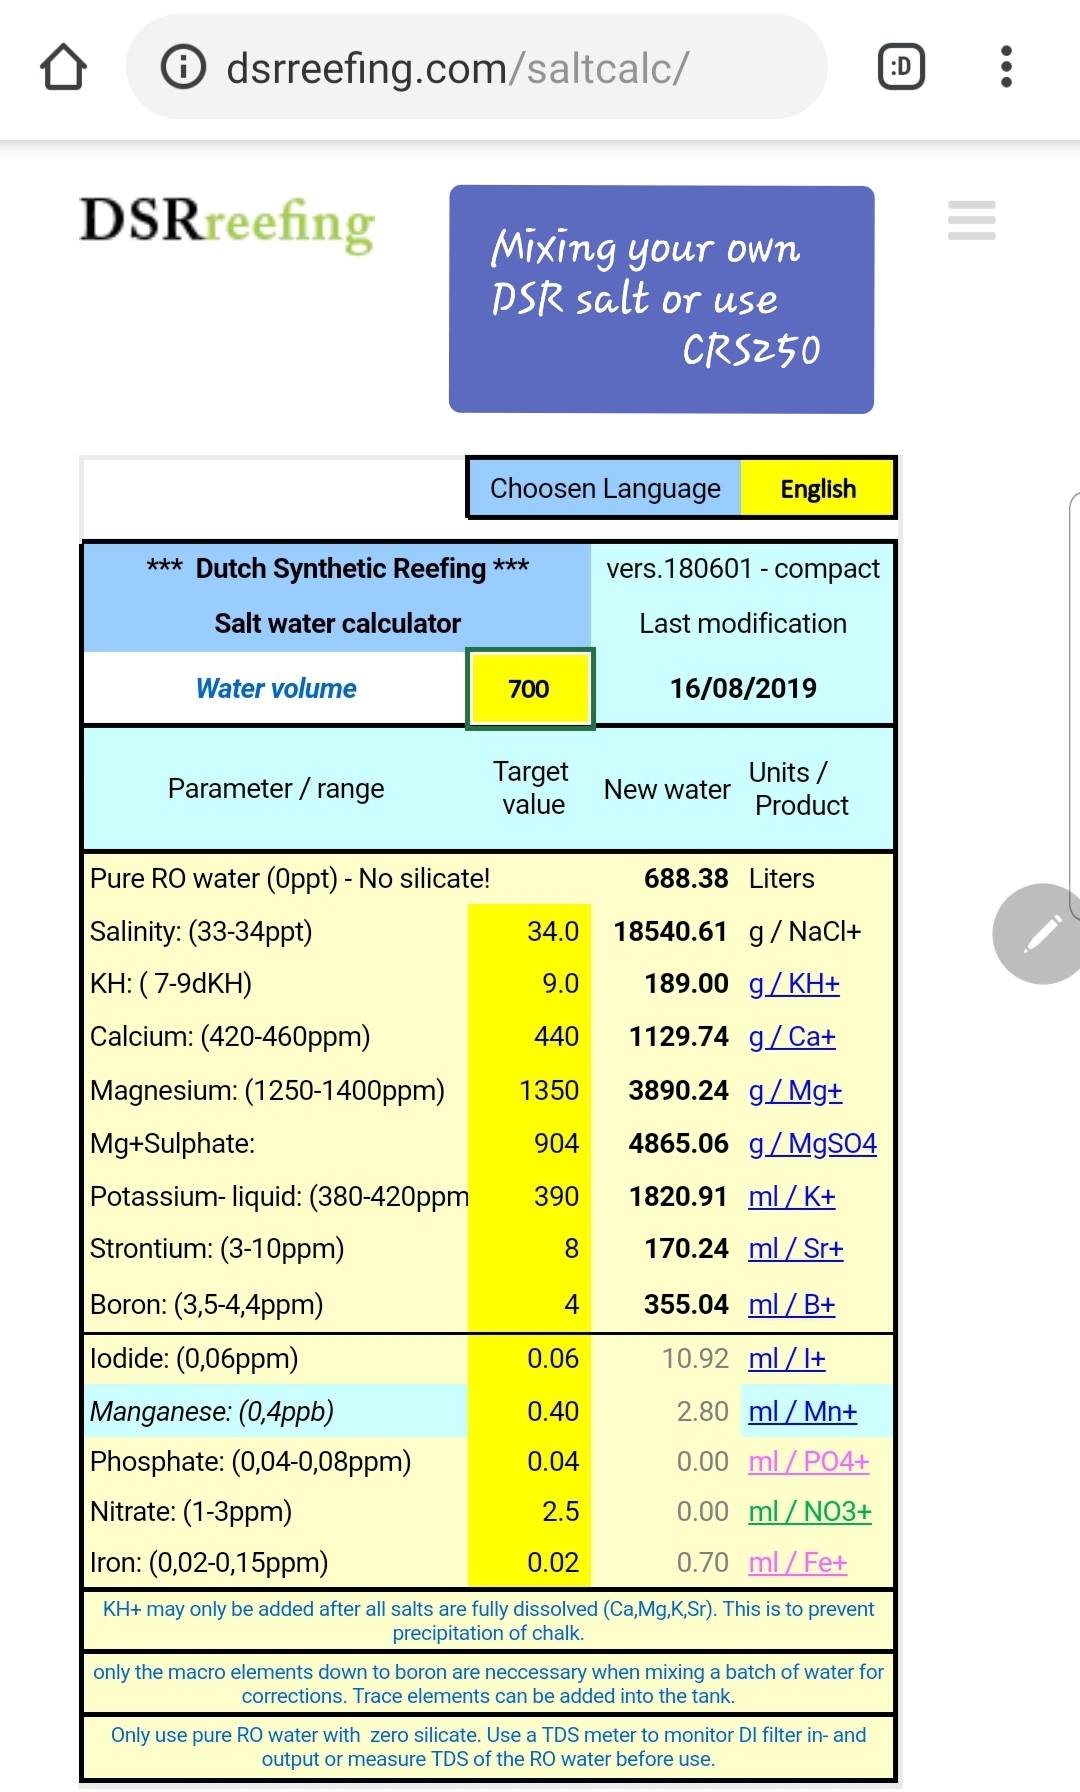
Only use DSR pure products made for this purpose or just use the CRS250 Salt mixture
When you use tap water:
Don't use the KH+ component
Use only 80% of the Ca+ component
These can easily be adjusted with the compact calculator later on. Just measure and do your first DSR corrections.
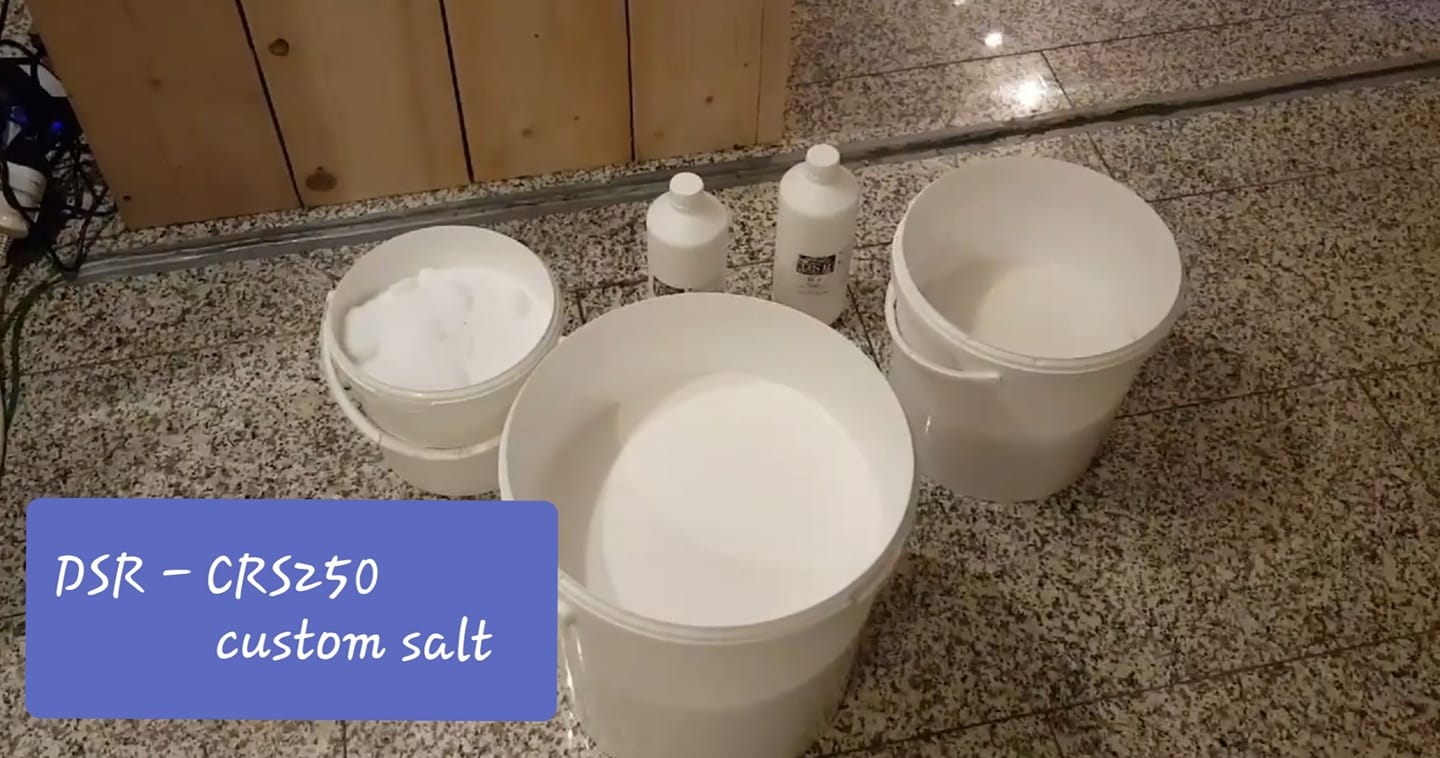
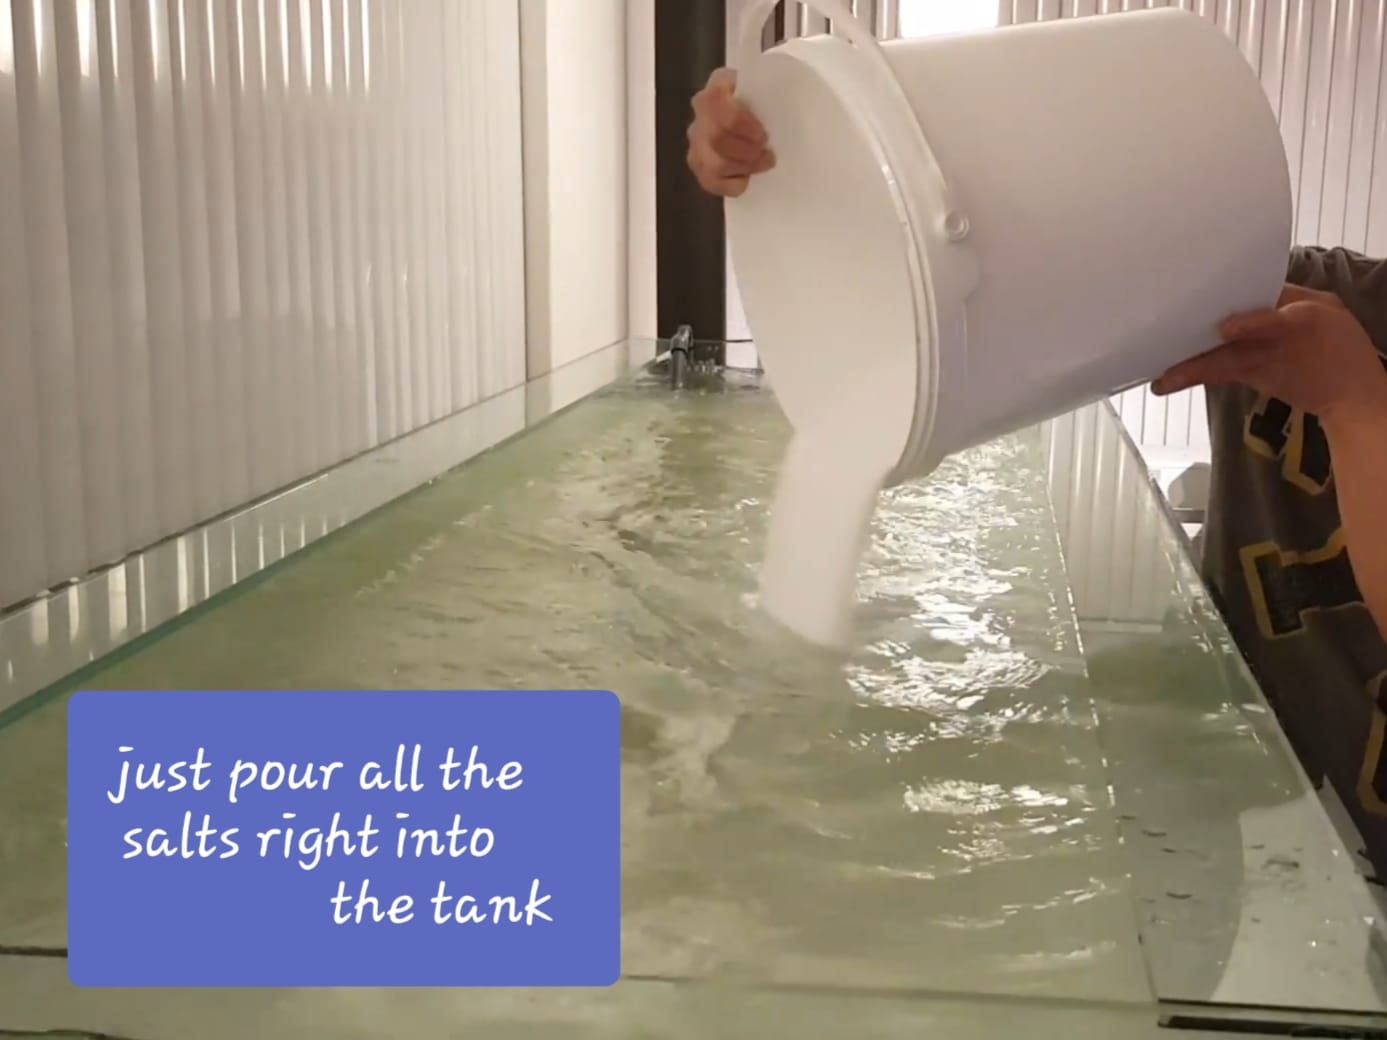
Active the streamers and pour in the bucket of DSR salts one by one. Make sure you do MgSO4 and KH+ as last item, when all other salt are already fully dissolved. Just to make sure they don't react and precipitate with each other.
Get some sludge from a mature reef tank if you have that option. Just syphon the sandbed into a bucket and replace that with new coral sand. 10 liters for a 700 liter tanks is OK to start with. Choose a tank without any mayor problems or visible invested with pest animals or algae.

Sludge = sand, bacteria, dirt, micro-fauna. Wait a few days before installing power filters and protein skimmer.
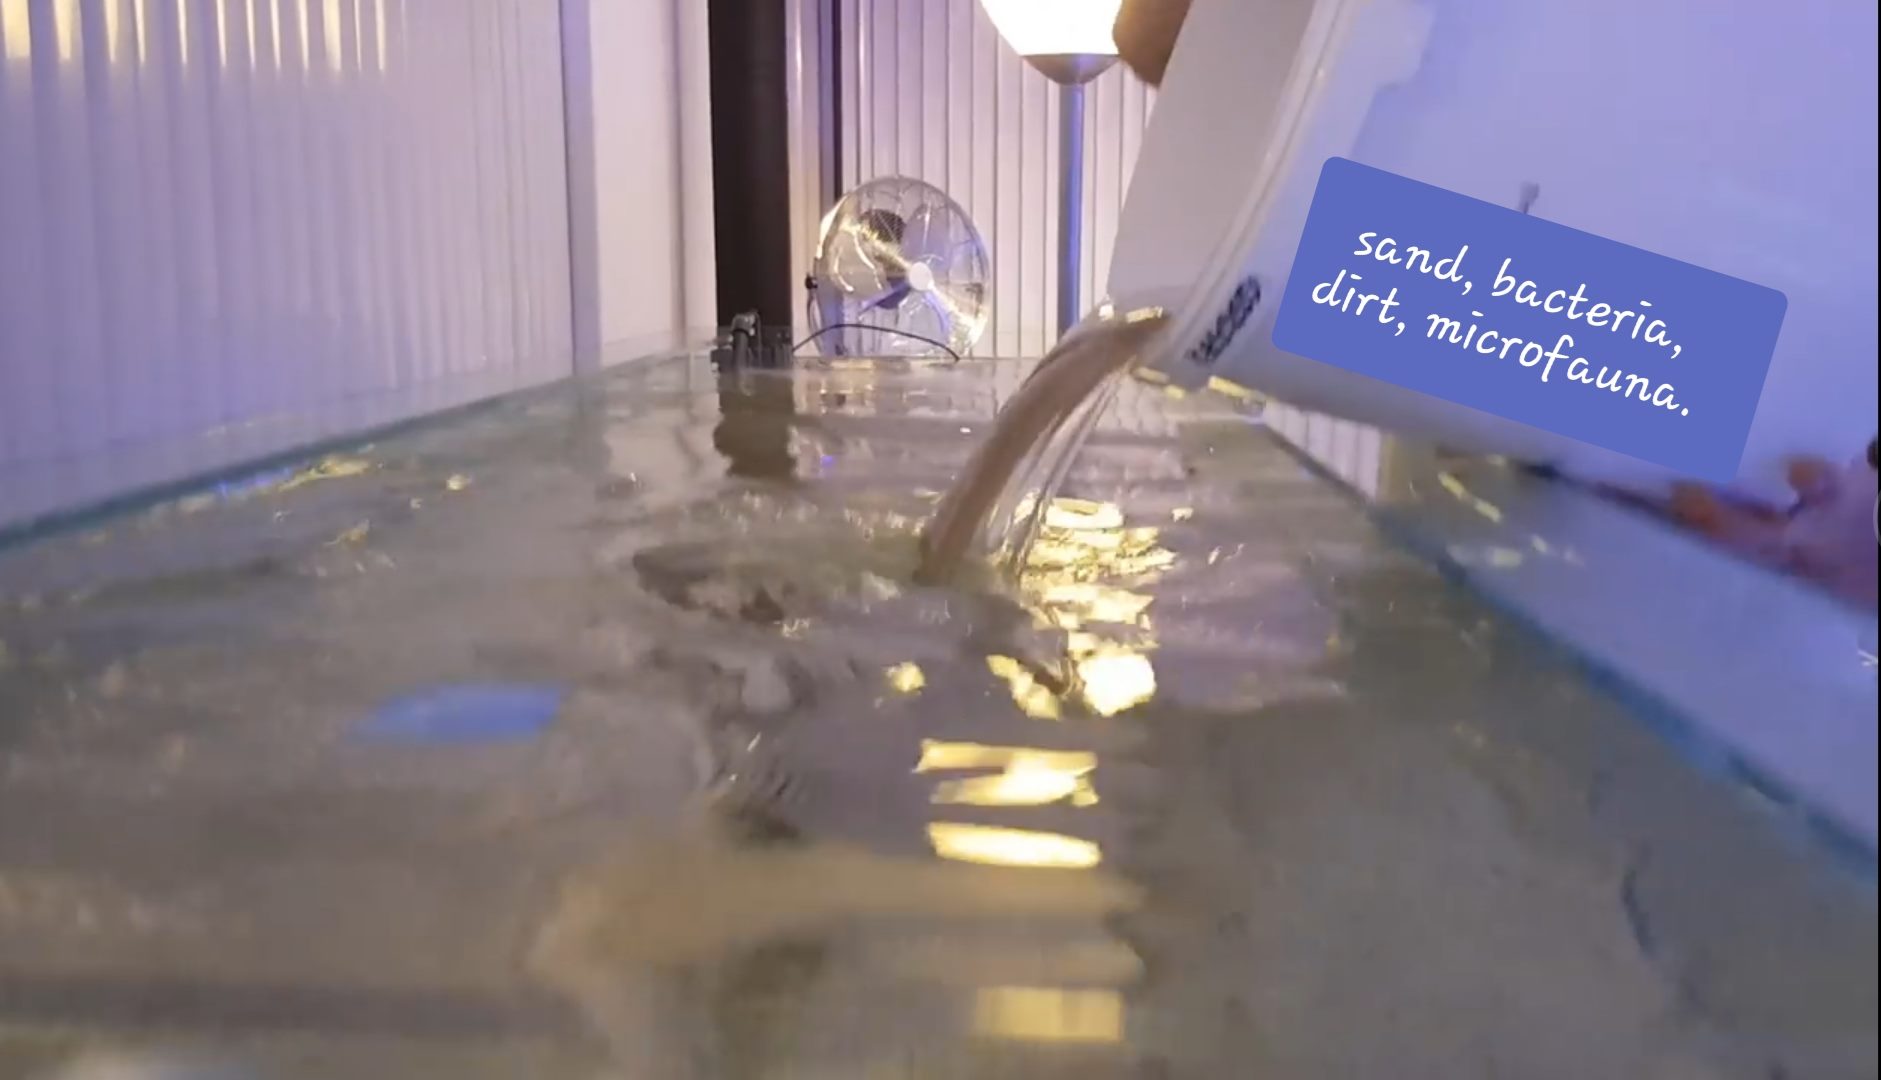
Inoculation involves putting dirt into you tank.
Without it you just need more time to cycle the tank.

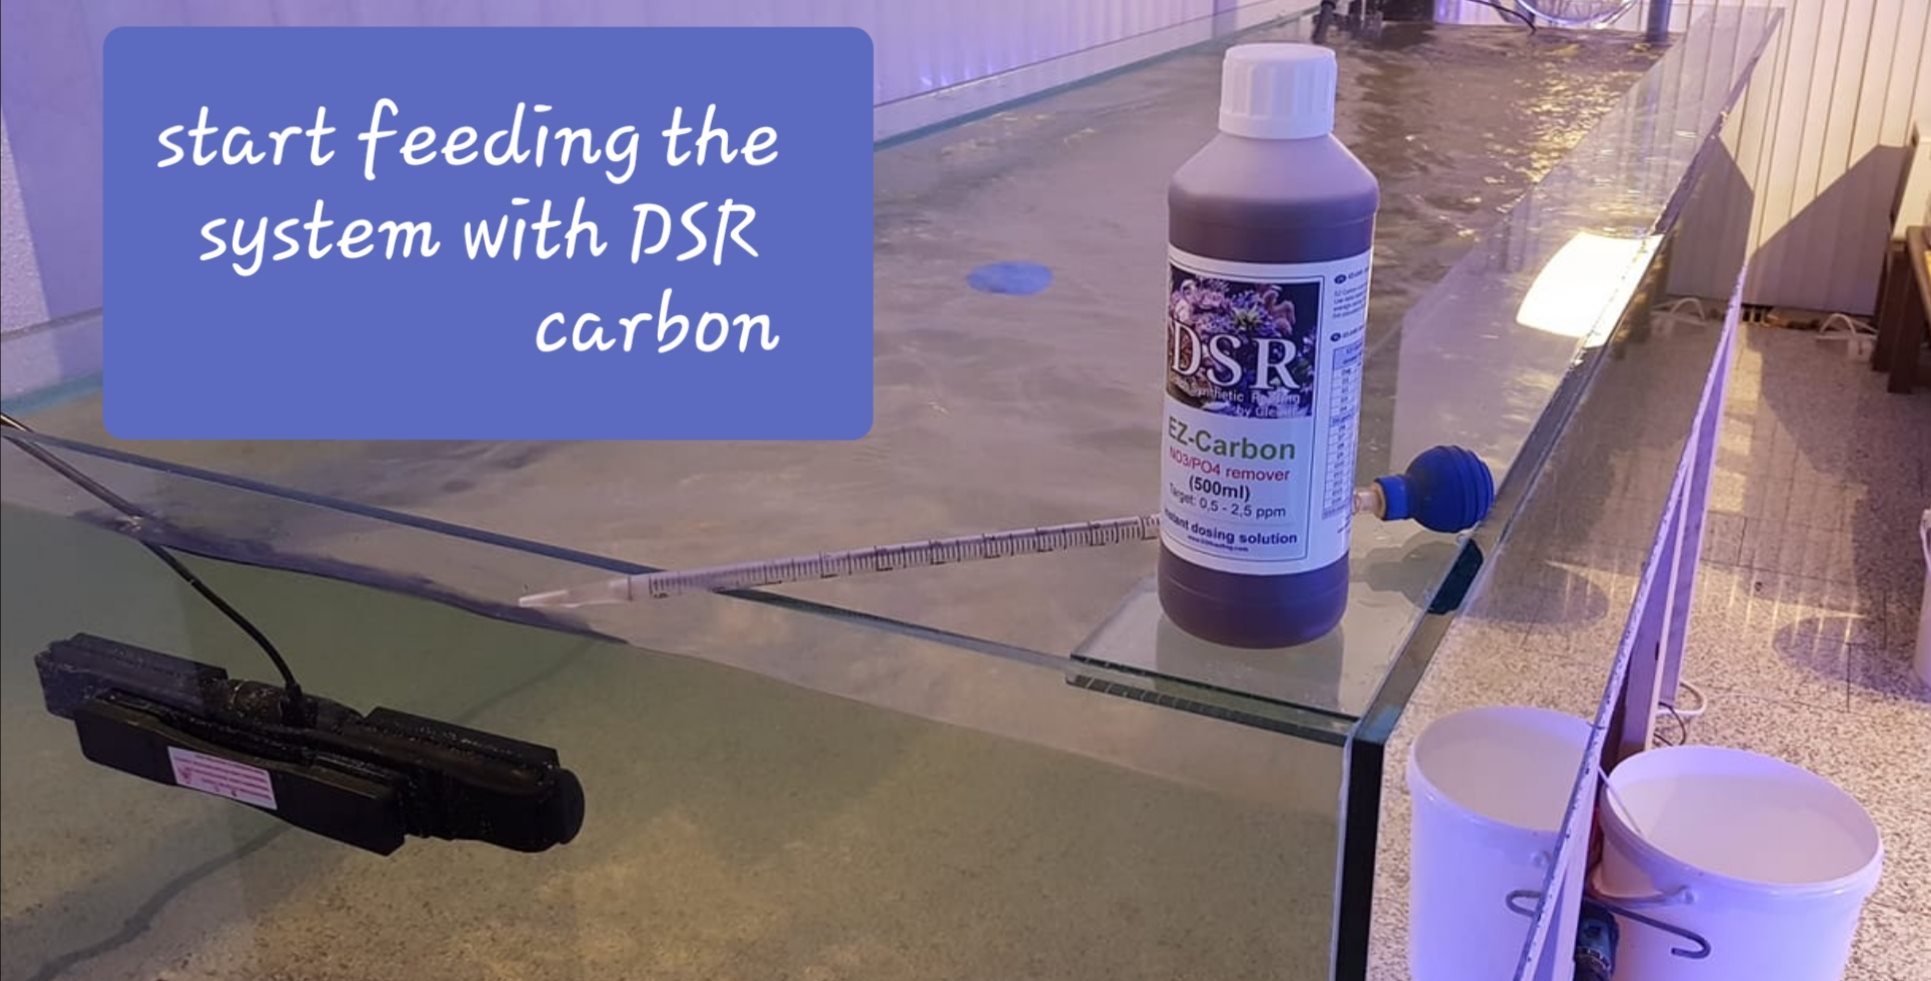
Start with daily DSR carbon from D1 and ramp up to an average D3-5 dosing.
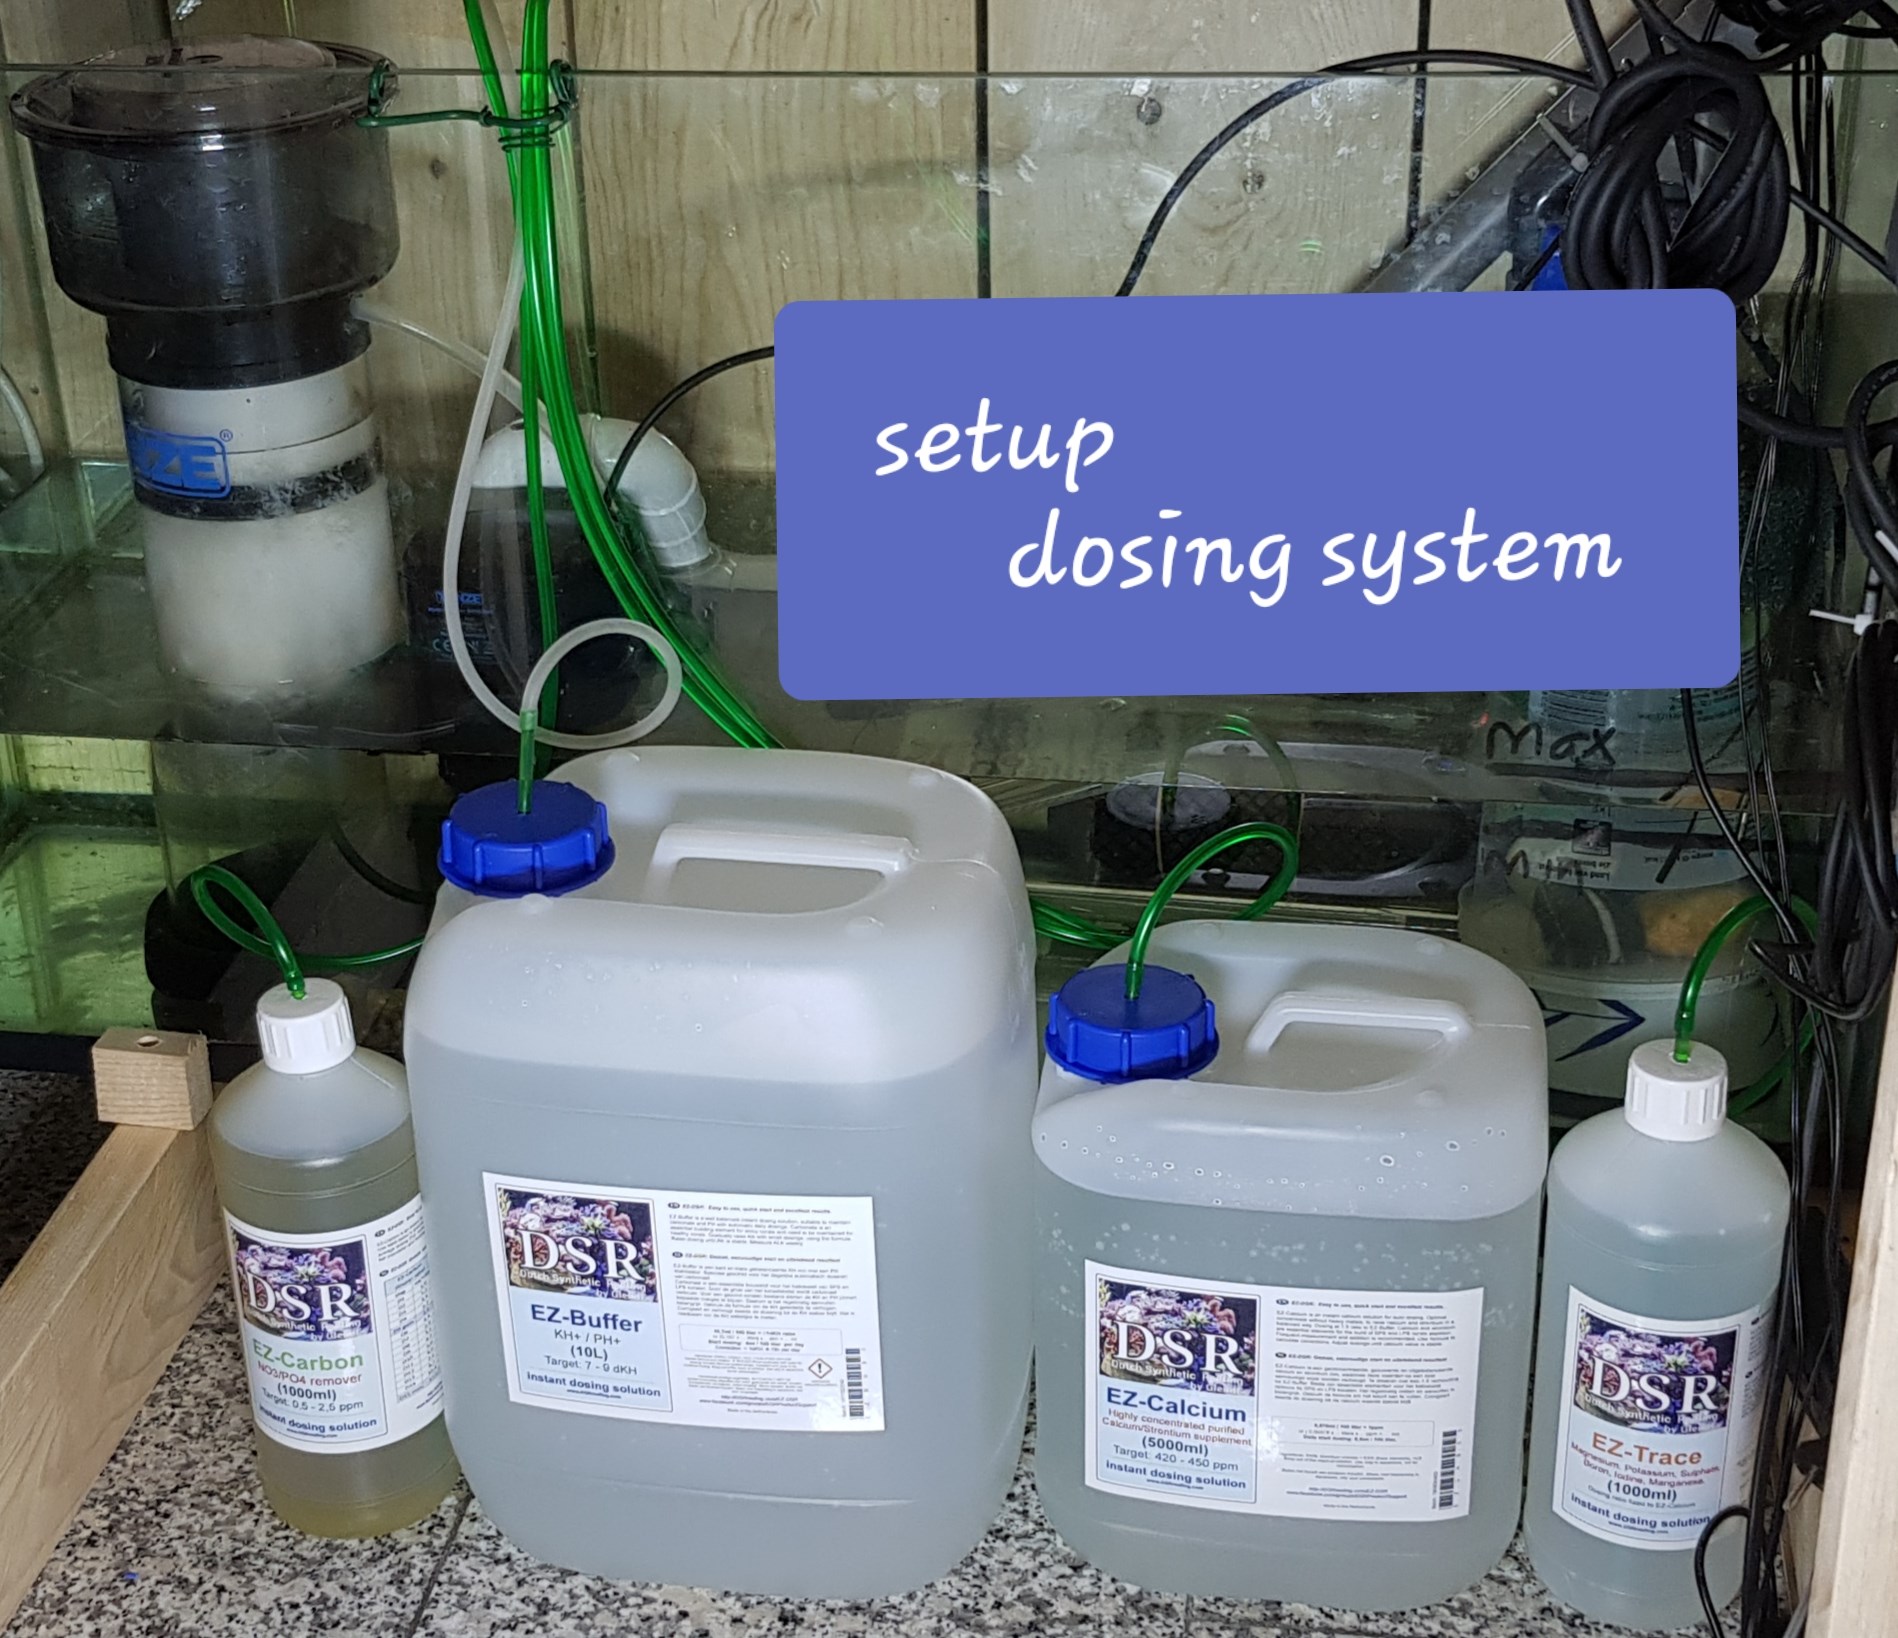
Read more about the EZ dosing system here
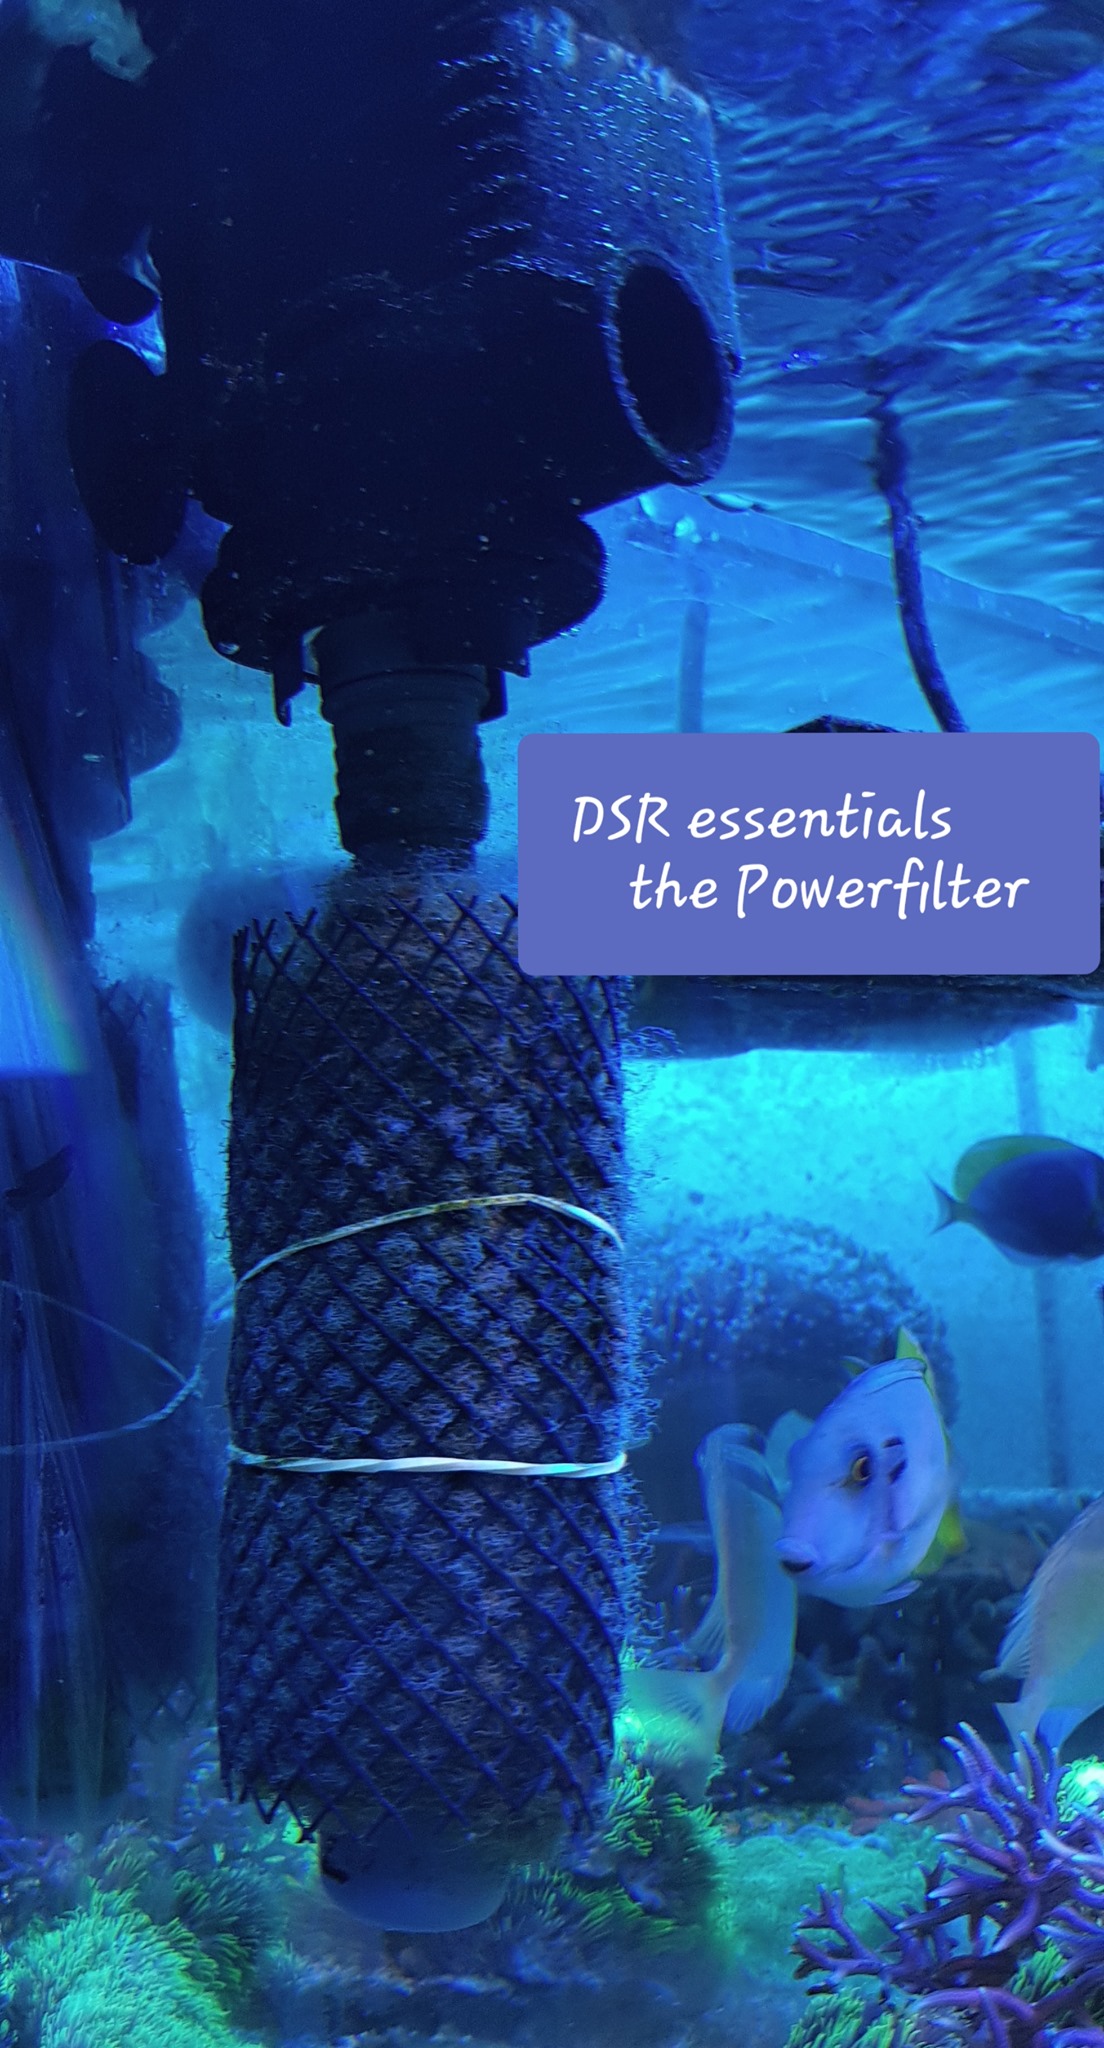
After 2-3 days install the infamous DSR power filter.
This is an essential part of the DSR reefing system. Which don't use GAC or any other reactors.
🔵Note: A fleece filter is NO replacement for a DSR Power Filter
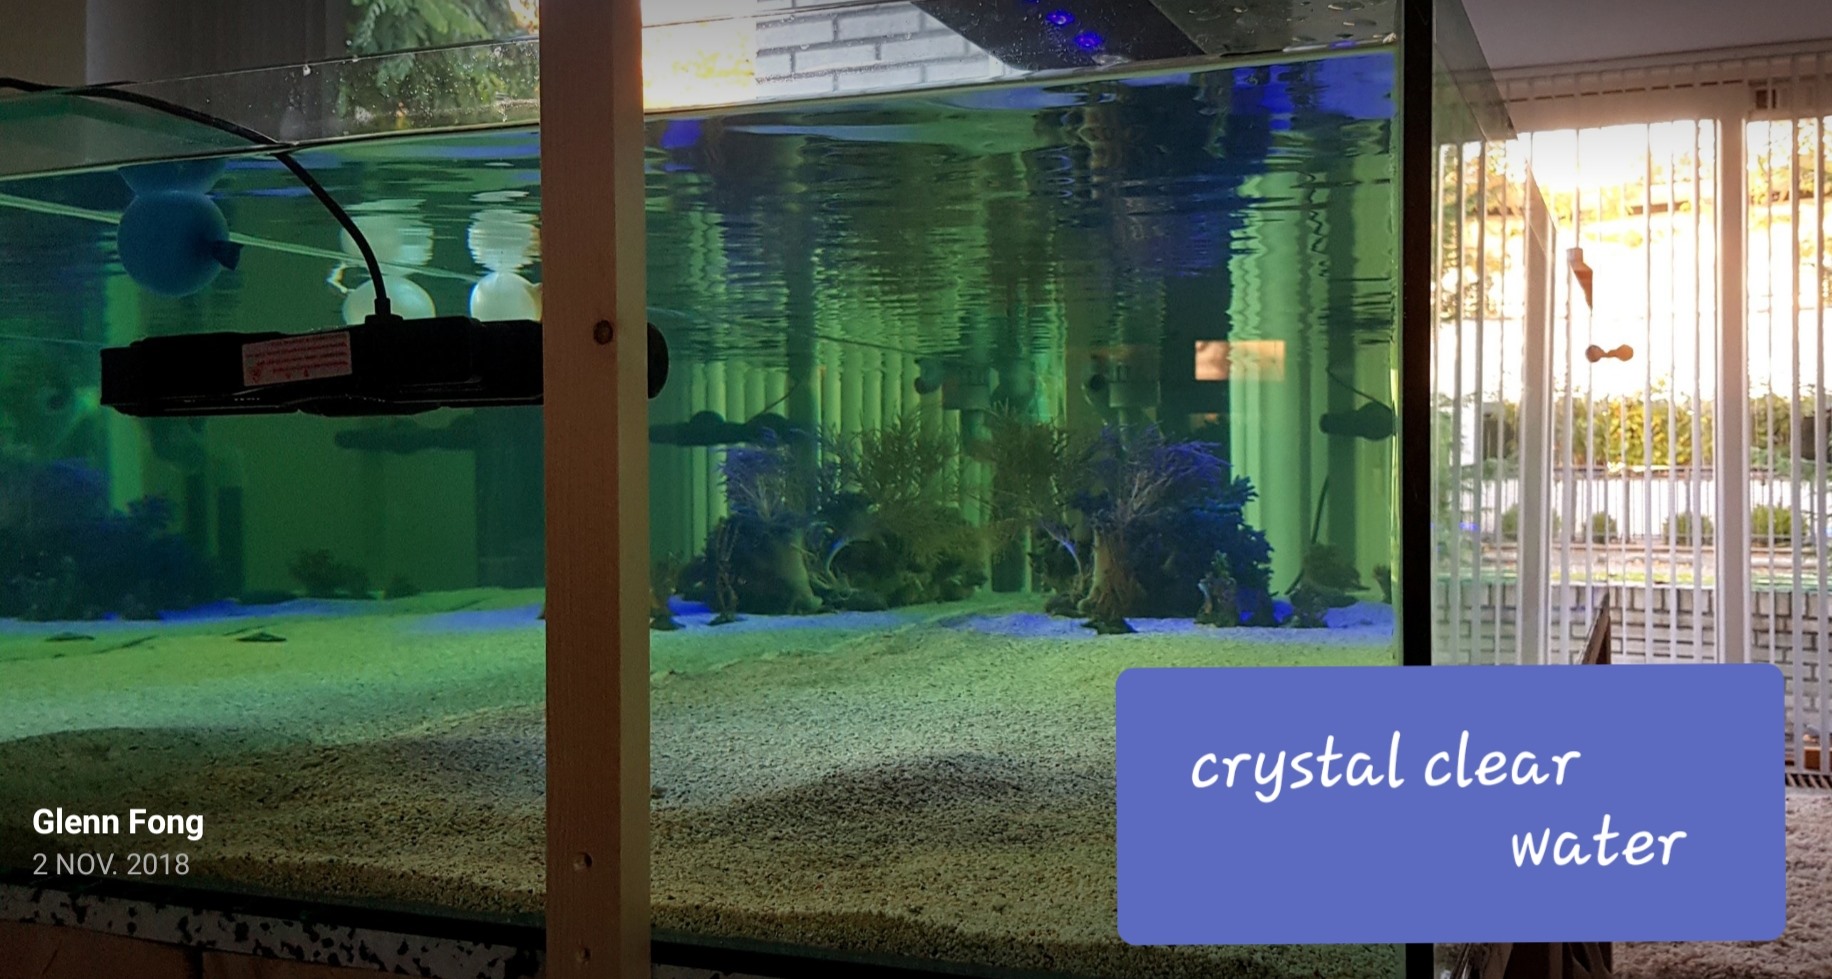
In a few days the system water will become crystal clear due to the DSR-Carbon, cultivated bacteria and DSR power filter.
Introduction of first inhabitants (testcorals)
Only if nutrients are within the healthy range and not earlier than 2 weeks after inoculation.
Look into here for target range.
Kenya trees are great indicator corals to start the tank test with and in the meanwhile buildup your reefing skills. They are very resilient and can handle abuse due to error or lack of experience.
At this stage there is only (indirect) daylight ~50PAR
Just enough for a Kenya to survive, but not enough to grow pest like algae or cyano.
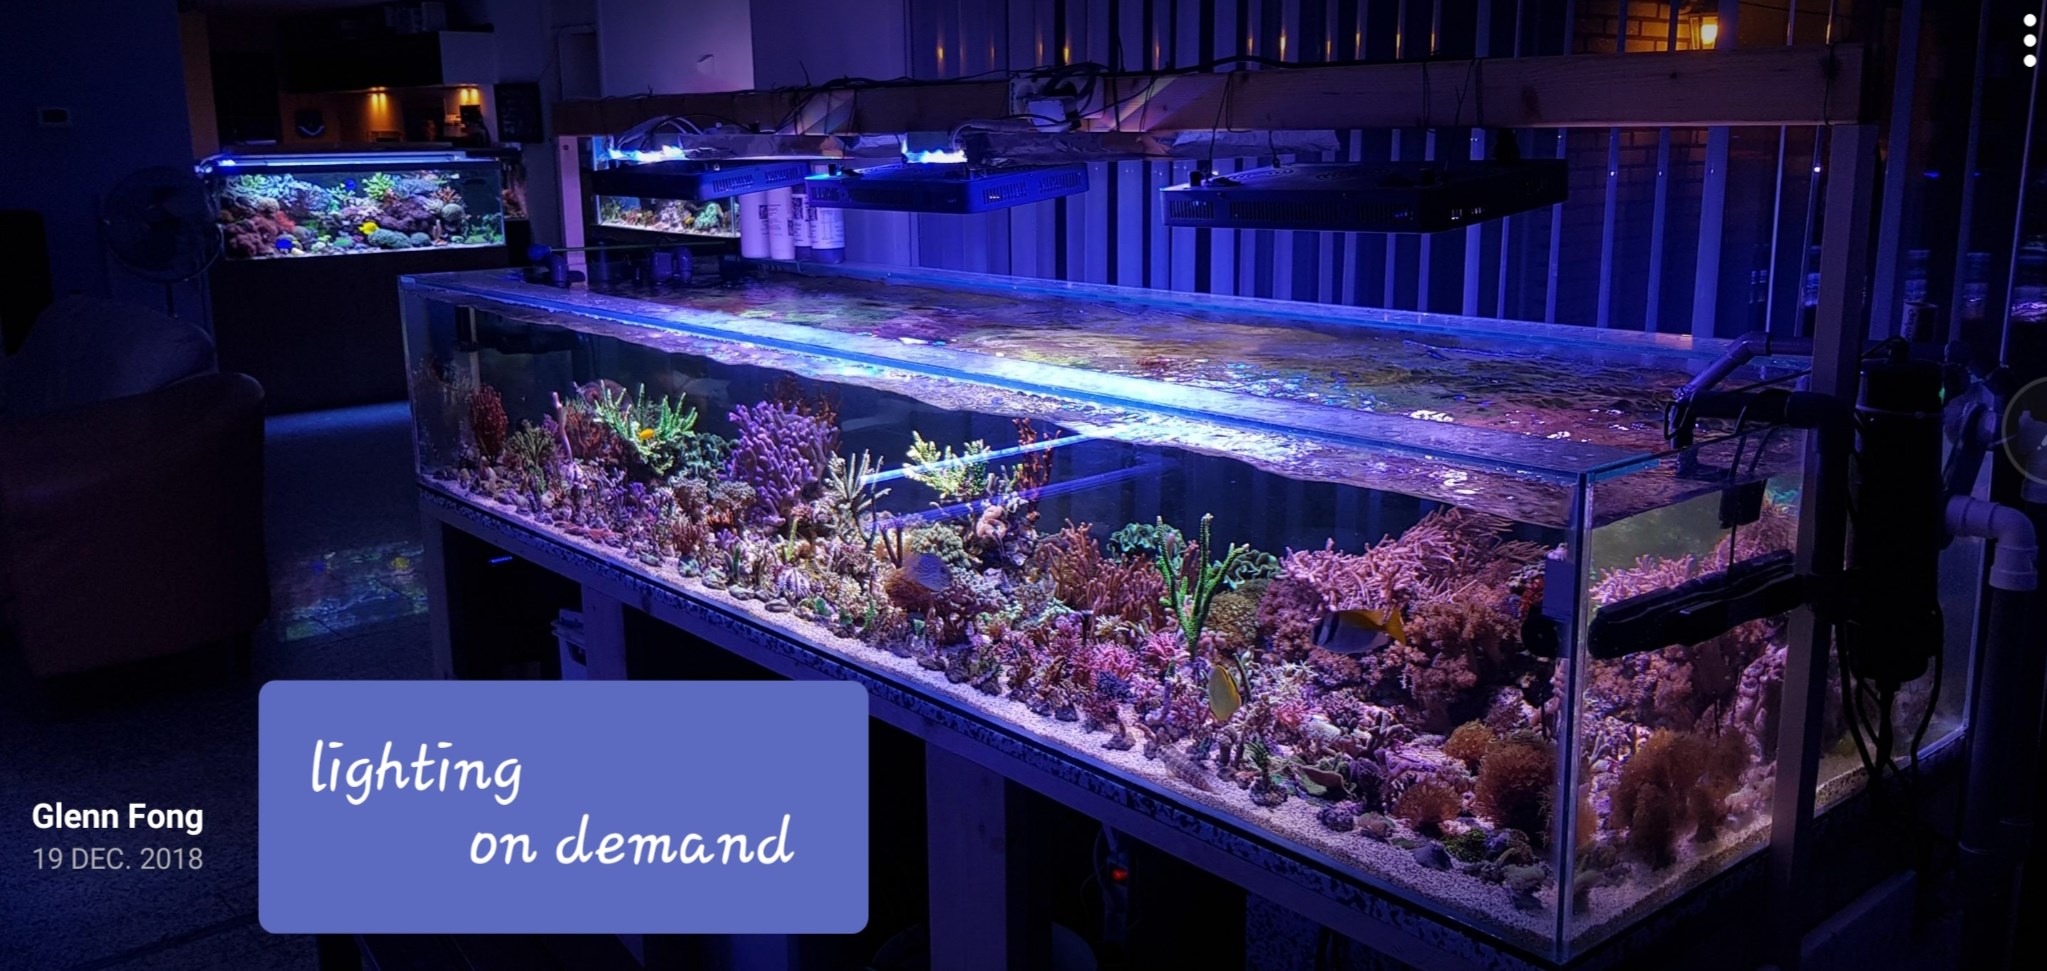
Light on demand: (testcorals +2 weeks) just enough for easy corals to survive, but prevent tank pest from getting out of control. Max. 100PAR
Keep this steady for a few weeks and watch how the tank reacts to more light.
Before introducing more (light) demanding corals
LPS , Acan's, Scoly's, Blasto's will do just fine at this point.

Don't turn on the full lighting before the nutrient are fully under control and no earlier than 2 weeks after starting with daily DSR Carbon dosing.
Testcorals +4wks: introduction of SPS corals.
Ramp up light to minimal level to keep SPS alive.
Max. 150PAR for Montipora
Max. 220PAR for Acropora
After the introduction of the first SPS there will be an increase in consumption of macro and trace elements.
Setting up a dosing system now is essential for tank stability.
We accomplish this by measuring, corrections and adjusting dosings.
For this we use the EZCalculator
If you do the math - Length x Width x Height = liters
Use the volume calculator

NO time indication:
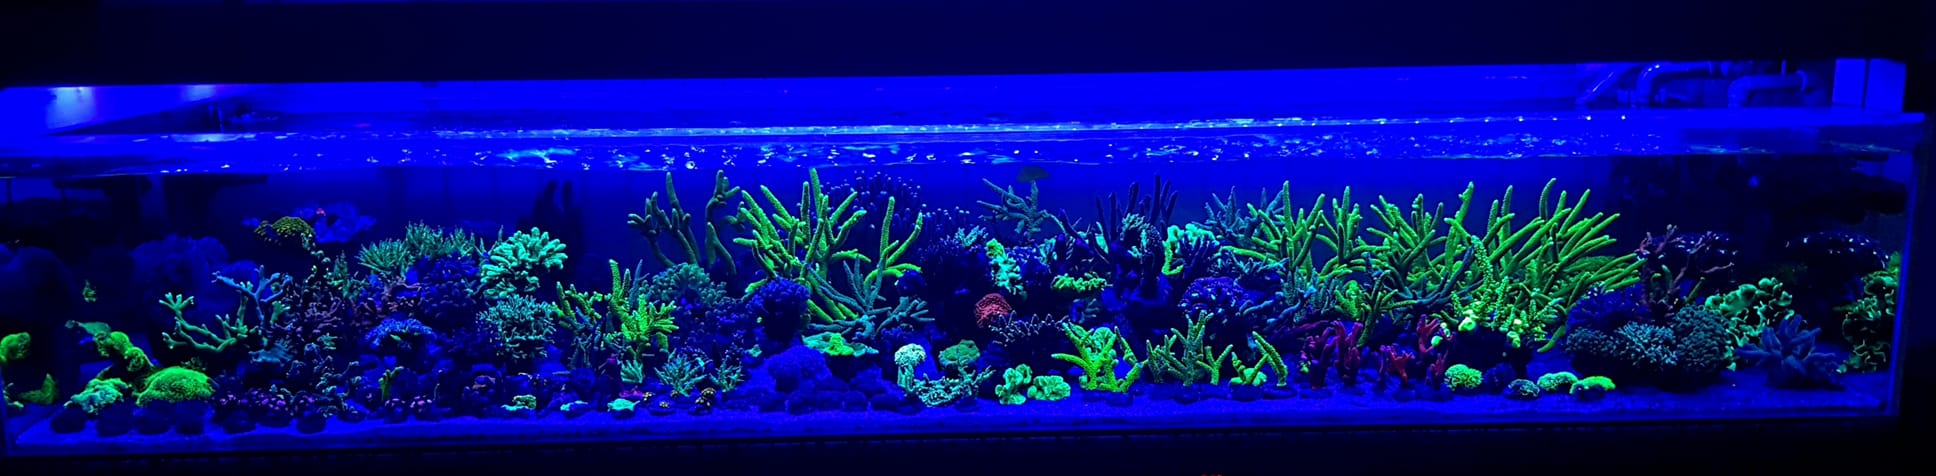
If the tank is ready for it, you can rampup the lights to hit 250-450PAR and place any coral you like.
Prevent overlighting the sandbed and deadrock. Target <100PAR to avoid problems.
Improve your reefing skills !
Observe and learn the dynamics of light vs pest!
To much light fuels pest!
When your develop pest, your tank is not ready to be hit with so much light, so you can't place corals which demand more light. Tune down the light when pest appears. (3 days blackout reset the pest).
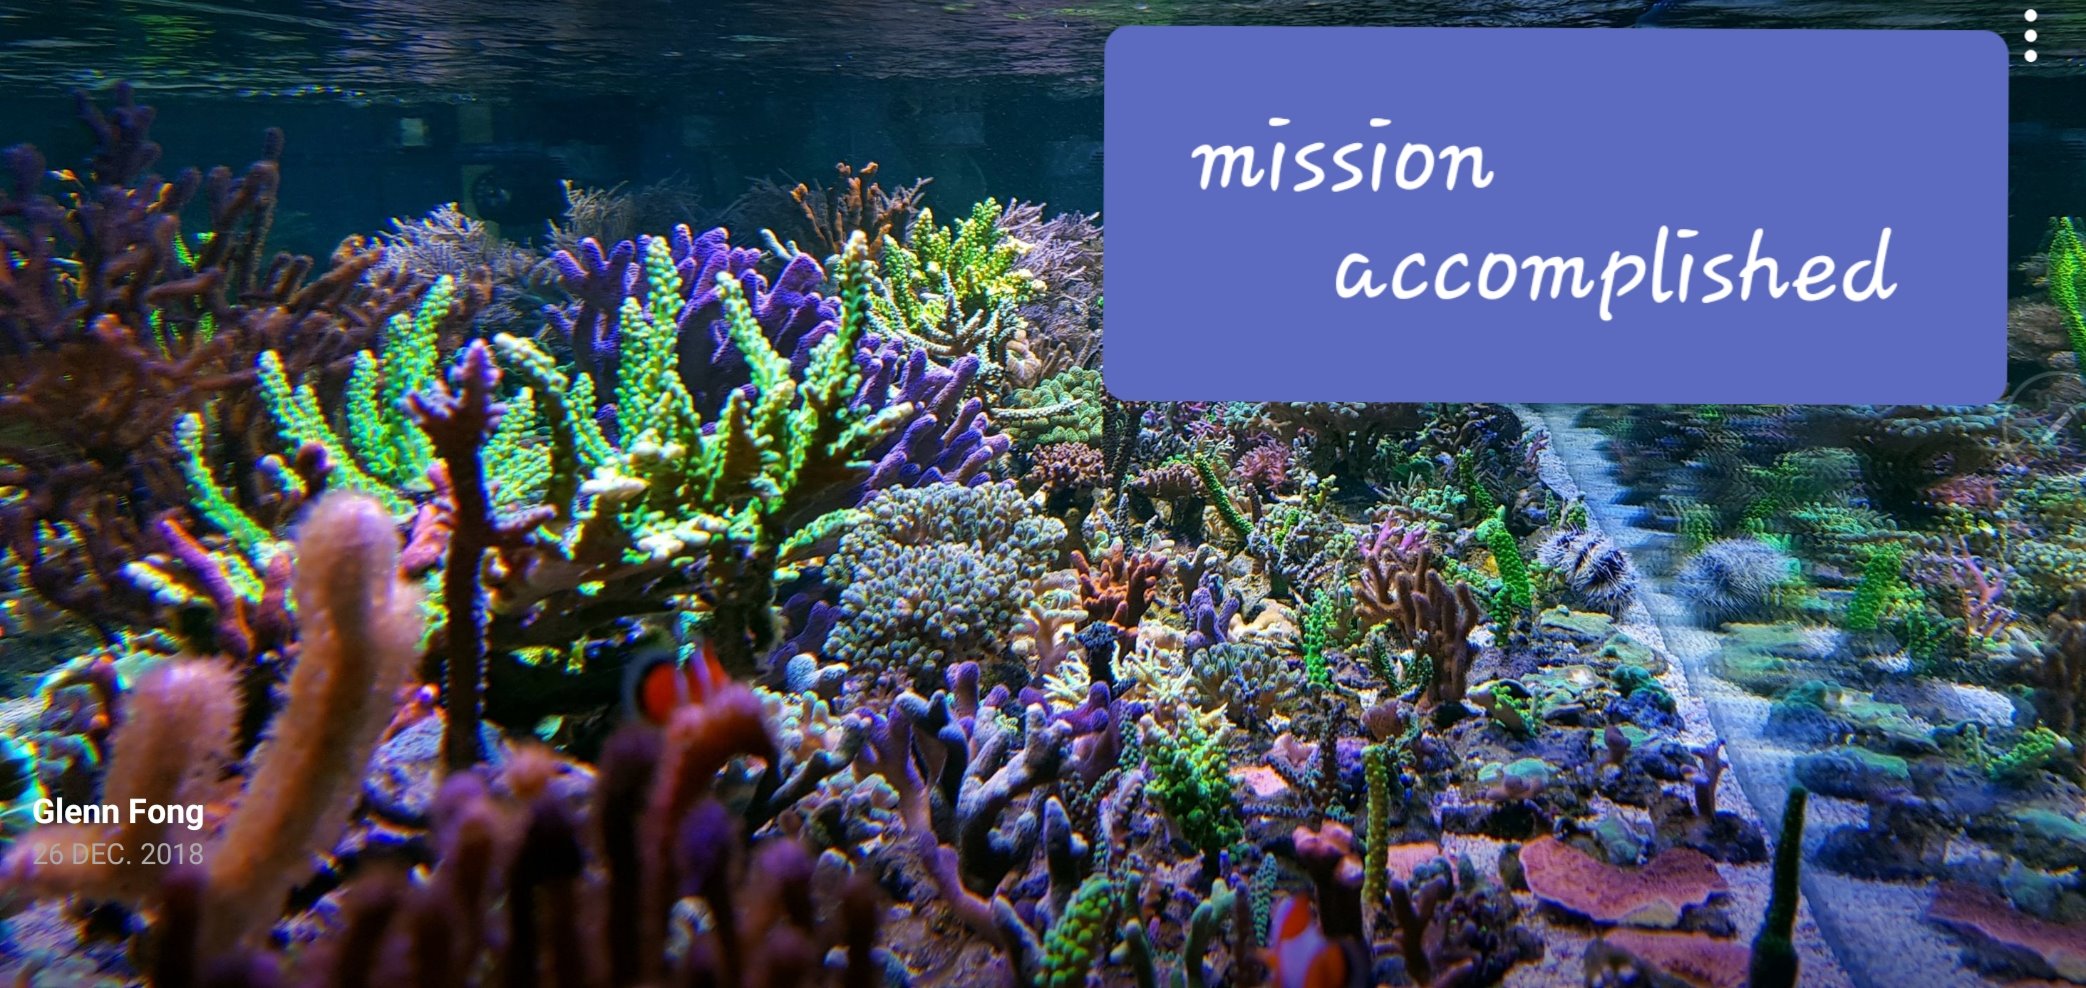
Happy Reefing